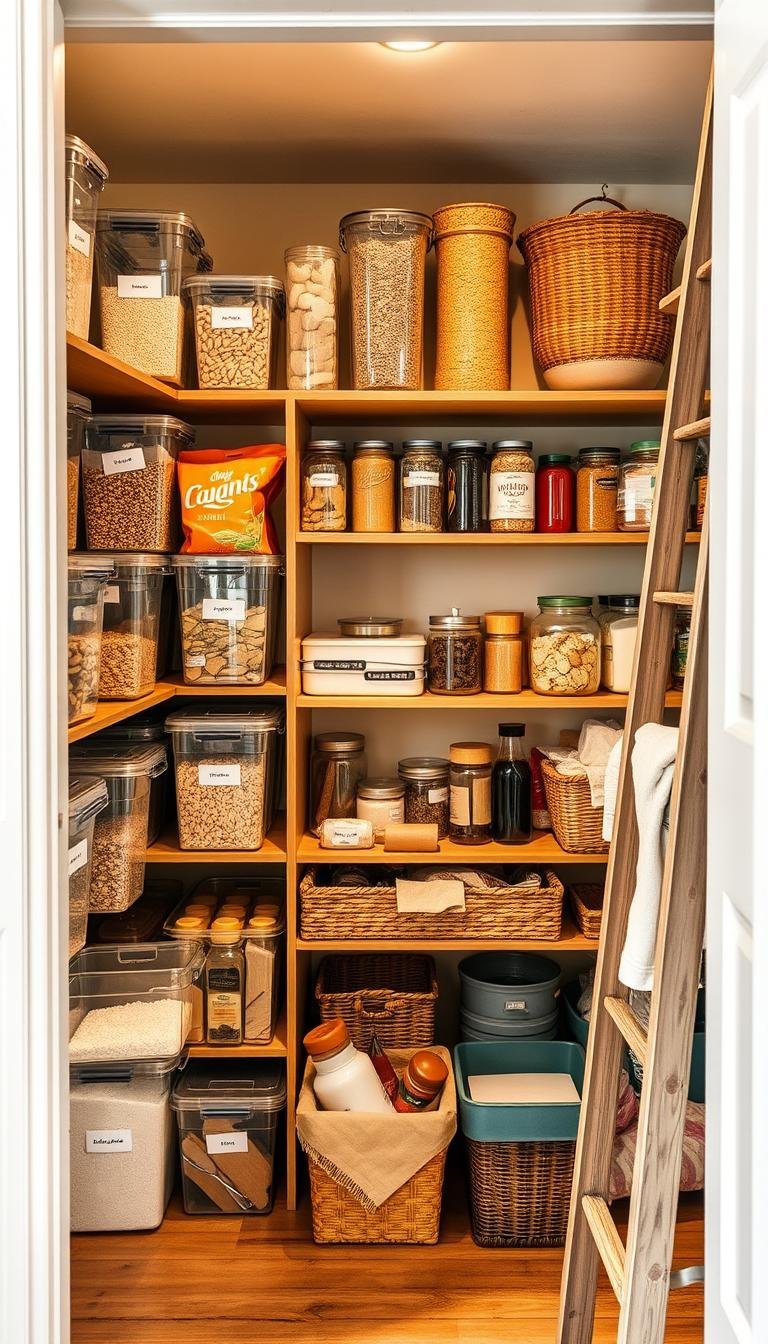
Pantry Organization on a Budget
Life is busy. You want a calm kitchen and systems that fit your day. This guide gives soft, simple steps you can start in minutes.
No guilt. We focus on easy wins. Clear one shelf. Group like items. Use what you already have first.
Many Dollar Tree-only projects finish a space for about $25. We will also note smart splurges people like later—risers and lazy Susans. Small moves save money and time. Breaking down bulky boxes and sorting by category cuts waste and overbuying.
You will get numbered steps, short checklists, and daily two-minute resets. Weekly shelf straightens and monthly mini-declutters make sense for real life. Room-by-room echoes mean the same system can help your kitchen, bathroom, closet, and entry.
Key Takeaways
- Start small. Clear one shelf and group like foods.
- Use low-cost tools and recycled bins to save money.
- Daily two-minute resets keep clutter from growing.
- Weekly straightens and monthly mini-declutters maintain order.
- Label simply with cardstock and a marker.
- Set zones: eye-level for daily items, high for rare use.
Why a simple pantry matters when you’re on a budget
Clear, calm shelves make cooking feel kinder and faster.
Calm shelves, calmer cooking. When you can see your food at a glance, meals happen with less stress. You find ingredients fast. You spend less time guessing.
Save money by seeing what you already have. After low-cost overhauls, people report fewer duplicate buys and shorter grocery lists. Move daily-use items to eye level. Check dates first. Break down bulky packages to free shelf space.
Clear categories help the whole house. Everyone knows where things go. Fewer questions. Less stress.
Small steps make a big impact. One shelf at a time is enough. This gentle way of organizing makes sense when time and money both matter.

- See food fast. Stop duplicates. Save money.
- Old items move forward. New items go behind.
- Open space speeds meal prep and supports busy nights.
Pantry Organization on a Budget: a gentle step-by-step
Pull everything out at once so choices come faster and the work stays kind.

- Empty and wipe. Clear the shelf and the floor. Wipe surfaces. A fresh start helps decisions feel easier.
- Edit items. Check dates. Toss the expired. Donate sealed extras that are safe.
- Sort by use. Group baking, breakfast, snacks, canned goods, pasta, and sauces together. Keep like-with-like.
- Downsize packaging. Break big boxes. Put open duplicates into one container when safe. This frees space.
- Contain, then label. Use simple bins, containers, or wrapped boxes that fit your depth. Add clear labels so everyone can follow.
- Place with purpose. Eye-level holds daily foods. High shelves keep rare items. Low shelves take heavy or bulk goods.
- Small rounds work. If pulling everything feels big, do drawers and one shelf at a time. Little wins add up.
- Make a restock list. Jot items you need while you sort. It helps plan meals and prevents duplicate buys.
- Breathe. Your system can change. Good enough is enough. Keep it gentle and doable.
Tip: Dollar-store tubs and pour-spout containers are useful. Recycled boxes wrapped as crates make uniform bins that feel tidy.
Low-cost tools that work: Dollar Tree, recycled boxes, and repurposed bins
Stretch your dollars first with smart, simple tools you likely already own.
Start frugal. Visit Dollar Tree for tubs, pour-spout containers, tags, and a small lazy Susan. Tubs group snacks and pour-spout pieces hold cereal, rice, or pasta. Each item often costs $1–$1.25. Many whole makeovers land near $25.

DIY box crates
Wrap sturdy cardboard or diaper boxes to make uniform crates. Paper or fabric hides wear. The cost is low—about $8 for materials. These crates look neat and fit shelves well.
Shop your home first
Pull extra baskets, jars, wire bins, and buckets before buying more. Glass jars work well for baking staples if lids seal tight. Use plastic where it helps for light, easy cleaning.
When to save and when to splurge
Keep most savings. Then pick one upgrade if it truly helps. Can risers or dispensers (about $18 for a set) make cans easier to see? One lazy Susan reduces lost sauces. Simple supplies—scissors, tape, cardstock, marker—finish the job.
Labeling made easy
Clear, readable labels make daily put-away calm and quick.
Keep it simple. Use what you have. Cardstock tags, painter’s tape, or string tags work well. Black cardstock with a white chalk marker reads from across the shelf. Tape-on cards help with Dollar Tree bins and DIY crates.

Simple tags, tape-on cards, or cardstock + marker
Write big. One word helps. Snacks. Breakfast. Baking.
Tie tags to a basket handle or tape them to the front lower edge of bins. Clear containers get labels at the top right where eyes land.
Family-friendly names and placement
“Labels make it easy for everyone to put things back without asking.”
Use friendly names like “Lunch snacks” or “Morning cereal.” Keep categories broad. Label both the container and the shelf when you can.
| Method | Tools | Best for |
|---|---|---|
| Cardstock tags | Cardstock, chalk marker, string | DIY crates and baskets |
| Tape-on cards | Painter’s tape, marker | Temporary labels and clear bins |
| Label maker | Printer label tape | Long-term, neat labels |
- Use what you have. Cardstock and tape work.
- Write large, clear words for quick put-away.
- Refresh labels during monthly wipe-downs.
Quick reset checklists

- Set a 2-minute timer. Return stray items to their bin.
- Face labels forward. Toss obvious trash.
- Wipe any quick crumbs from the front edge.
Weekly shelf straighten and snack refill
- Straighten each shelf and drawers. Refill snack bins.
- Move older items forward. Add a “use first” note to your meal plan.
- Spend ten minutes if you can. Nightly mini-tasks add up.
Monthly mini-declutter and wipe-down
- Empty one section at a time. Wipe surfaces and replace worn labels.
- Break down bulky boxes. Consolidate open duplicates when safe.
- Keep a small caddy in the room with cloth, mild spray, marker, and tape.
“Use a short timer. It protects your energy and keeps upkeep simple.”
Tip: If life is busy, do one shelf only. Small steps still protect your space and make organizing pantry feel doable.
Room-by-room examples that echo your pantry system
Keep the same simple system and watch it calm every room in your house. Small zones. Clear labels. One habit copied makes the rest easier.
Kitchen and pantry
Create clear zones: cereal in one bin. Baking in another. Canned goods grouped together. Pasta in its own spot.
Use one shelf for breakfast. Keep bowls nearby if space fits. Mornings get calmer when cereal and mugs live together.

Bathroom
Use baskets for backstock. Extra soap, paper goods, and travel items fit well. Add simple labels so you stop buying duplicates.
Bedroom and closet
Small bins hold accessories and spare items. Tie on simple tags. Kids learn to return things fast. One lane per category keeps shelves tidy.
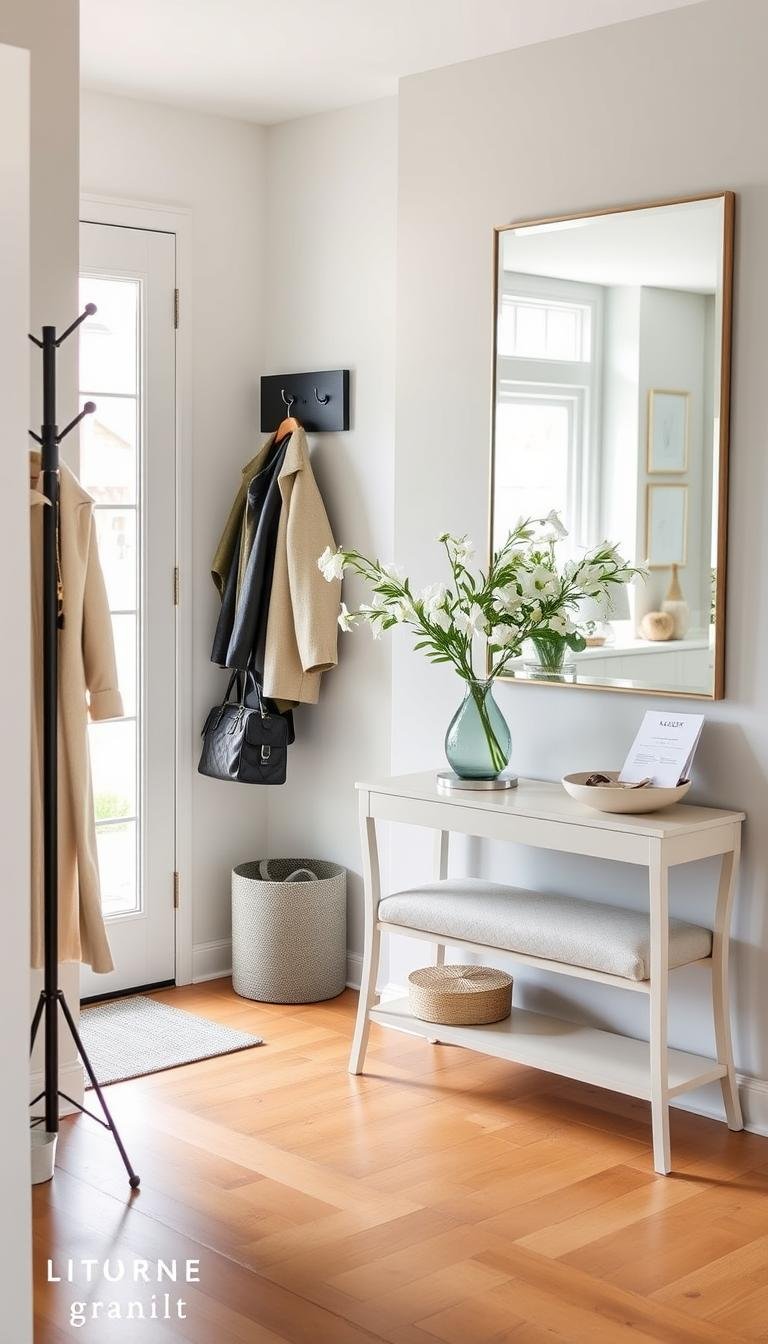
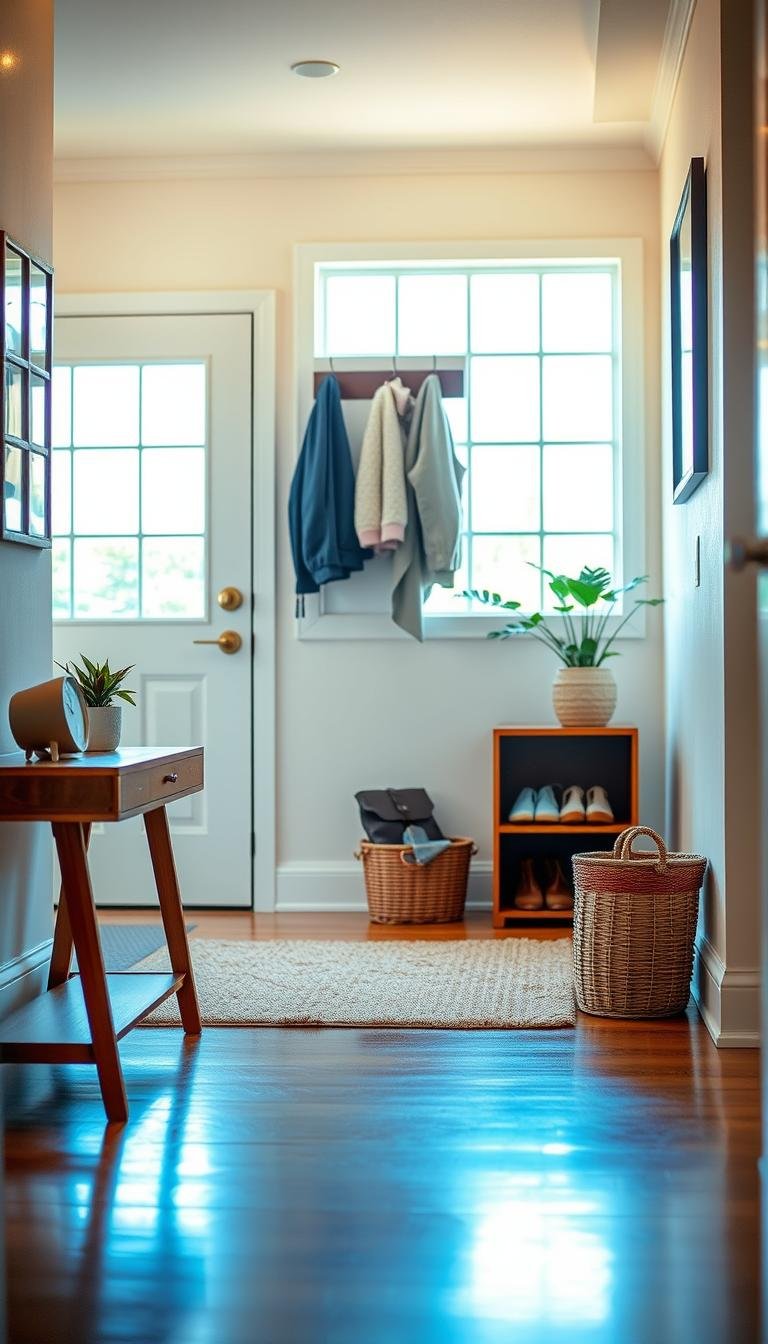
Entryway
Set a drop zone for keys and mail. Add hooks for bags. Keep a snack basket near the exit for busy days. It saves time and prevents last-minute searches.
“Same rules. Old forward. New behind. Small zones repeat across the house.”
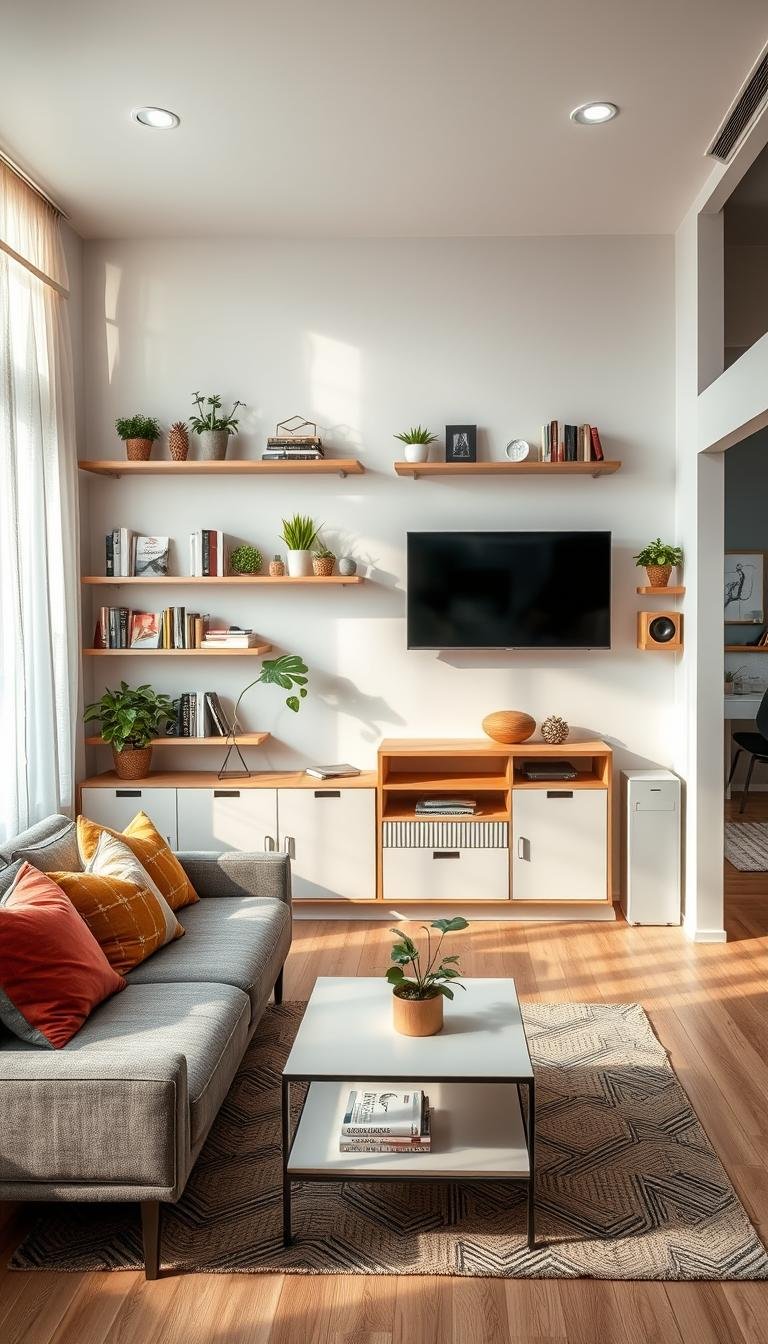
Small spaces and rentals: make shelves work harder
Renter life asks for systems that move with you and leave no marks behind. Keep tools light. Choose options that gain vertical space and fit narrow depths. Think lanes more than piles. Small changes bring calm.

Use risers, narrow bins, and back-of-door storage
Narrow bins carve lanes on shallow shelves. They stop things from hiding in the back.
Risers lift a second row into view. Canned goods become simple to scan. Over-the-door racks hold packets, wraps, and foil. No drilling needed.
Lightweight, movable systems that adapt
Pick light plastic that slides and cleans fast. Dollar Tree has many friendly options that move with you. Reuse boxes as dividers when you need temporary lanes.
- Choose stackable storage containers for square, efficient use.
- Keep a small container for returns or donations in the room.
- Avoid permanent hardware. Use Command hooks and over-door racks.
| Solution | Best use | Pros | Cost note |
|---|---|---|---|
| Riser | Short shelf, canned goods | Makes second row visible; easy to move | Low cost; often under $20 |
| Narrow bin | Shallow shelf lanes | Prevents burying; stacks well | Many cheap options at dollar tree |
| Over-door rack | Door backs, pantry doors | Vertical storage without drilling | Affordable; renter-friendly |
| Reused boxes | Temporary dividers | Custom cut; nearly free | Very low cost |
“Small moves. Big gains. Let your shelves breathe and your room feel lighter.”
Keep it going: gentle habits and a pantry inventory
Post a short inventory where everyone can see it and use it each trip.

Hang a printed list on the wall. Keep a pen nearby. Check off items as you unload groceries. One minute now saves time later.
Post an inventory and update during unload
Use a simple list. Write broad categories. Canned goods. Cereal. Pasta. Grains.
Update the list as you put things away. It stops duplicates. It also makes grocery trips shorter.
Plan meals from what you see first
Scan shelves before you plan. Start with items at eye level. Use older canned goods first. Make meals from what is already visible.
Restock with purpose and avoid duplicate buys
Choose one restock day each week. Refill basics then. Store baking staples and grains in glass or sturdy storage containers you already own.
Keep labels visible on containers. Teach family members the quick rule: return items to the labeled home.
“Simple checklists keep systems steady for months.”
| Method | How it works | Best for | Notes |
|---|---|---|---|
| Wall list | Write categories and tick off as you unload | Busy households | Fast. Low effort. Reduces duplicate buys. |
| Dry-erase sheet | Reusable list near the shelf | Families who change plans often | Easy to edit. Visible. Keeps everyone aligned. |
| Simple app list | Update on your phone as you restock | On-the-go shoppers | Syncs to partner’s phone. Saves time at checkout. |
- Hang the inventory. Keep a pen ready.
- Update during unload. One minute saves money.
- Plan from visible food first. Use older cereal and pasta before buying more.
- Be kind to yourself. Small habits make sense and last.
Conclusion
Start with one simple task and watch the whole room breathe easier.
You can keep your pantry calm with tiny, steady steps. Clear one shelf. Use containers you already own. Reuse boxes or baskets to make neat lanes.
Function first, cost later. Dollar Tree finds and recycled boxes often last for months when paired with labels and quick resets. Add a riser or lazy Susan only if it truly helps.
Protect your space with minutes of care each day. Return items to their bins. Face labels forward. Small routines save time and reduce duplicate food buys.
Choose one small action now. Empty one box. Make one bin. Write one simple tag. Peace grows from simple ideas.
FAQ
How do I start when my shelves feel chaotic?
Begin gently. Take everything out. Wipe shelves with a mild cleaner. Group like with like—cereals, baking, snacks, canned goods, pasta. Toss expired items and set aside donations. Working in small sections keeps it calm and doable.
I’m on a tight budget. What low-cost supplies actually help?
Look to the Dollar Tree for tubs, pour-spout containers, and tags. Reuse jars and baskets from around the house. Cardboard boxes wrapped in pretty paper become uniform bins. Spend on one or two durable pieces only when they solve a real problem, like a riser or a can dispenser.
How can I make labels that last without spending much?
Keep it simple. Use masking tape and a marker for temporary labels. For a cleaner look, cut cardstock, hole-punch and tie with baker’s twine. Write family-friendly names so everyone finds things quickly. Labels make choices easier and reduce duplicate buys.
What’s an easy daily habit to keep shelves tidy?
Do a two-minute tidy each evening. Return stray items to their bins. Wipe any spills. This tiny habit prevents overwhelm and makes weekly tasks faster.
How do I store different sizes of packages together so they look neat?
Use bins to corral small items and group tall items together. Put everyday items at eye level. Heavy or bulky goods go low. Use risers for short shelves so you can see back rows. Uniform containers make varied sizes read as one tidy group.
I rent and can’t install shelves. Any tips?
Choose lightweight, movable systems. Stackable bins, over-the-door pockets, and narrow rolling carts work well. Tension rods create temporary shelves. These solutions keep things flexible and damage-free.
How often should I do a deeper clear-out?
Aim for a monthly mini-declutter. Check dates, wipe shelves, and consolidate half-full packages. Quarterly do a fuller edit and donate safe extras. Regular small sessions beat occasional big overhauls.
How do I avoid buying duplicates when I shop?
Keep a simple inventory list near your unload spot. Update it as you put groceries away. Plan meals from what’s visible first. When you shop, check the list and your shelves to avoid repeats.
What’s the best way to store open bags of pasta, rice, or flour cheaply?
Use airtight pour-top containers for staples you use often. If you’re saving, fold and clip bags, then tuck them into a clear bin so you can see levels. Jars work well for smaller amounts and look calm on shelves.
Can I make the space feel calm without everything matching?
Yes. Focus on zones and consistency, not perfection. Uniform labels and a few matching bins in key places create visual calm. Mix in recycled boxes and jars. The goal is easy use, not showroom style.